At easycraft, we design our panels to be versatile and easy to install with a longevity at the forefront of every profile. With the rise in using our products for a range of applications and purposes we though we would share what many designers and builders are creating with our easycraft panels.
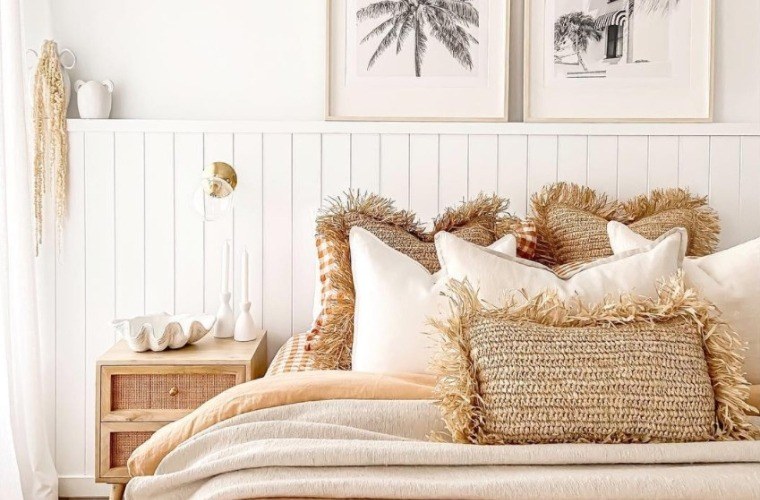
Right now we’re seeing a lot of popularity around using panels to create unique bedheads rather than going with a traditional fabric or wooden bedhead as part of your bed frame. Plus, having a custom panelled bedhead gives you extra shelf space right where you sleep – the perfect place to add decorative touches such as a vase, plants or artwork. It’s also ideal if you want to do away with bedside tables crowding the room.
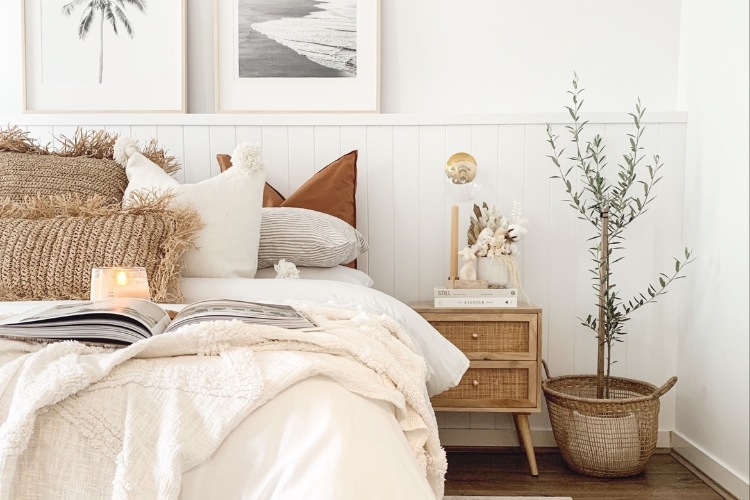
In contrast to a feature wall, where the panels cover the entire floor-to-ceiling section of the room, a DIY bedhead only goes up halfway. You have an entire easycraft range to choose from, but to get your creative juices flowing here are some of the different profiles you may enjoy for your custom panelled bedhead; a classic look with easyVJ100, striking features with the Silhouette range, modern style with easyASCOT Vogue, or refined elegance with easyASCOT Classic.
Hunting For George’s DIY Bedhead
The renovation experts at Hunting for George know this better than anyone. Founder and director Lucy Glade-Wright loved using a range of easycraft panels throughout her Reno Goals ‘Beach House’ Transformation series.
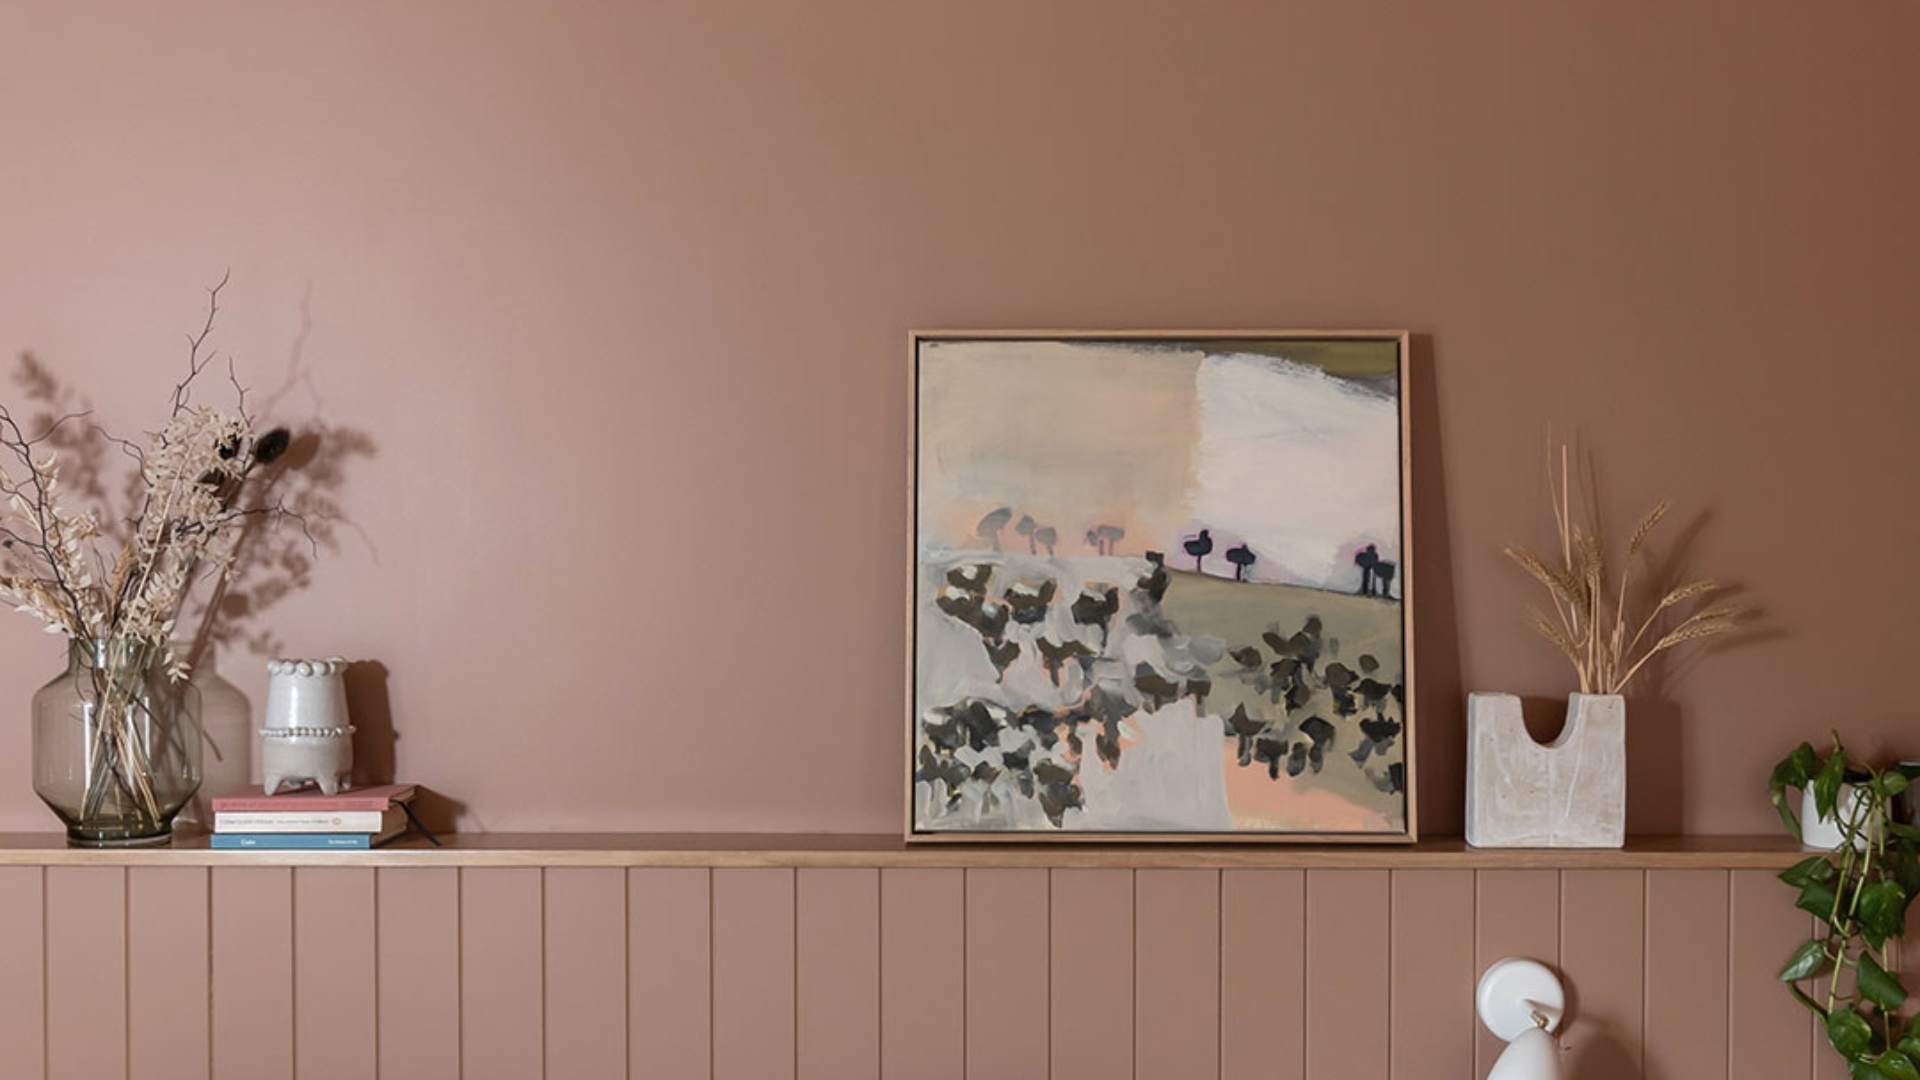
But before she revitalised a 1930s weatherboard shack, Lucy was making interiors pop with creative thinking and versatile decorative panels. In fact, she was responsible for this incredible bedroom makeover where she transformed an uninspired space into a feature room by using easyVJ100 panels to create a bedhead.
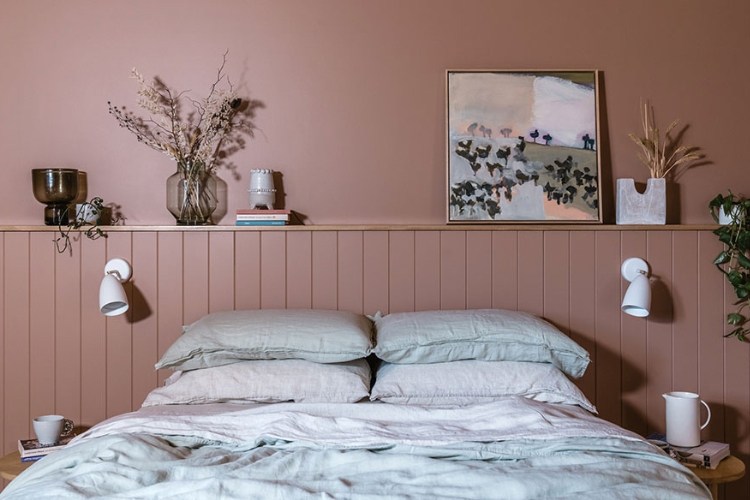
“We built a panelled nib wall to serve as a bedhead and practical ledge for lighting, storage and styling,” Lucy says. “This helped to add visual interest to quite a flat open wall, and the texture of the easycraft VJ100 panels on the nib wall served to complement the ceiling.”
Whether you’re an experienced renovator or just beginning your DIY journey, a small project like a bedhead is a great weekend activity. Make sure you understand how to install easycraft panels by reading through the installation guide and watching this helpful video on installing easyVJ on a stud wall.
7 Easy Steps To Create a DIY Easycraft Nib Wall Bedhead Ledge
If you feel like getting creative and crafty with your DIY skills, here are the seven easy steps that Hunting for George used to create their easycraft bedhead:
- Measure the space and build a frame with studs and noggins spaced 450mm apart.
- Secure the frame to the existing wall studs.
- Measure and pre-cut any holes in the panels for power points.
- Nail in the panels, fill the nail holes with putty and sand them down.
- Use a gap filler where necessary; between the walls, under the ledge and on top of the skirting board.
- Paint your panels in whichever colour you choose!.
- Depending on the material of your ledge/shelf, you can either secure this on top of the frame before painting or after.
Best of all, Easycraft makes crafting your own DIY bedhead easier with conveniently sized sheets. Both easyVJ100 and easyREGENCY come in 900mm-length sheets, while Silhouette and the Ascot range come in 900mm and 1200mm sizes. That means if you love these profiles, you won’t have to cut them down to size to suit your project.
Explore our range of other decorative panels to create the perfect bedhead for your space. Find out where to buy Easycraft from our list of resellers right across Australia.
You can also stay informed about our latest releases by signing up to our mailing list at the bottom of the page or read our blog for inspiration and helpful guides.