In this step-by-step guide we will walk you through how to paint your easycraft panels for a flawless and show-stopping result.
1. Choose Your Colours
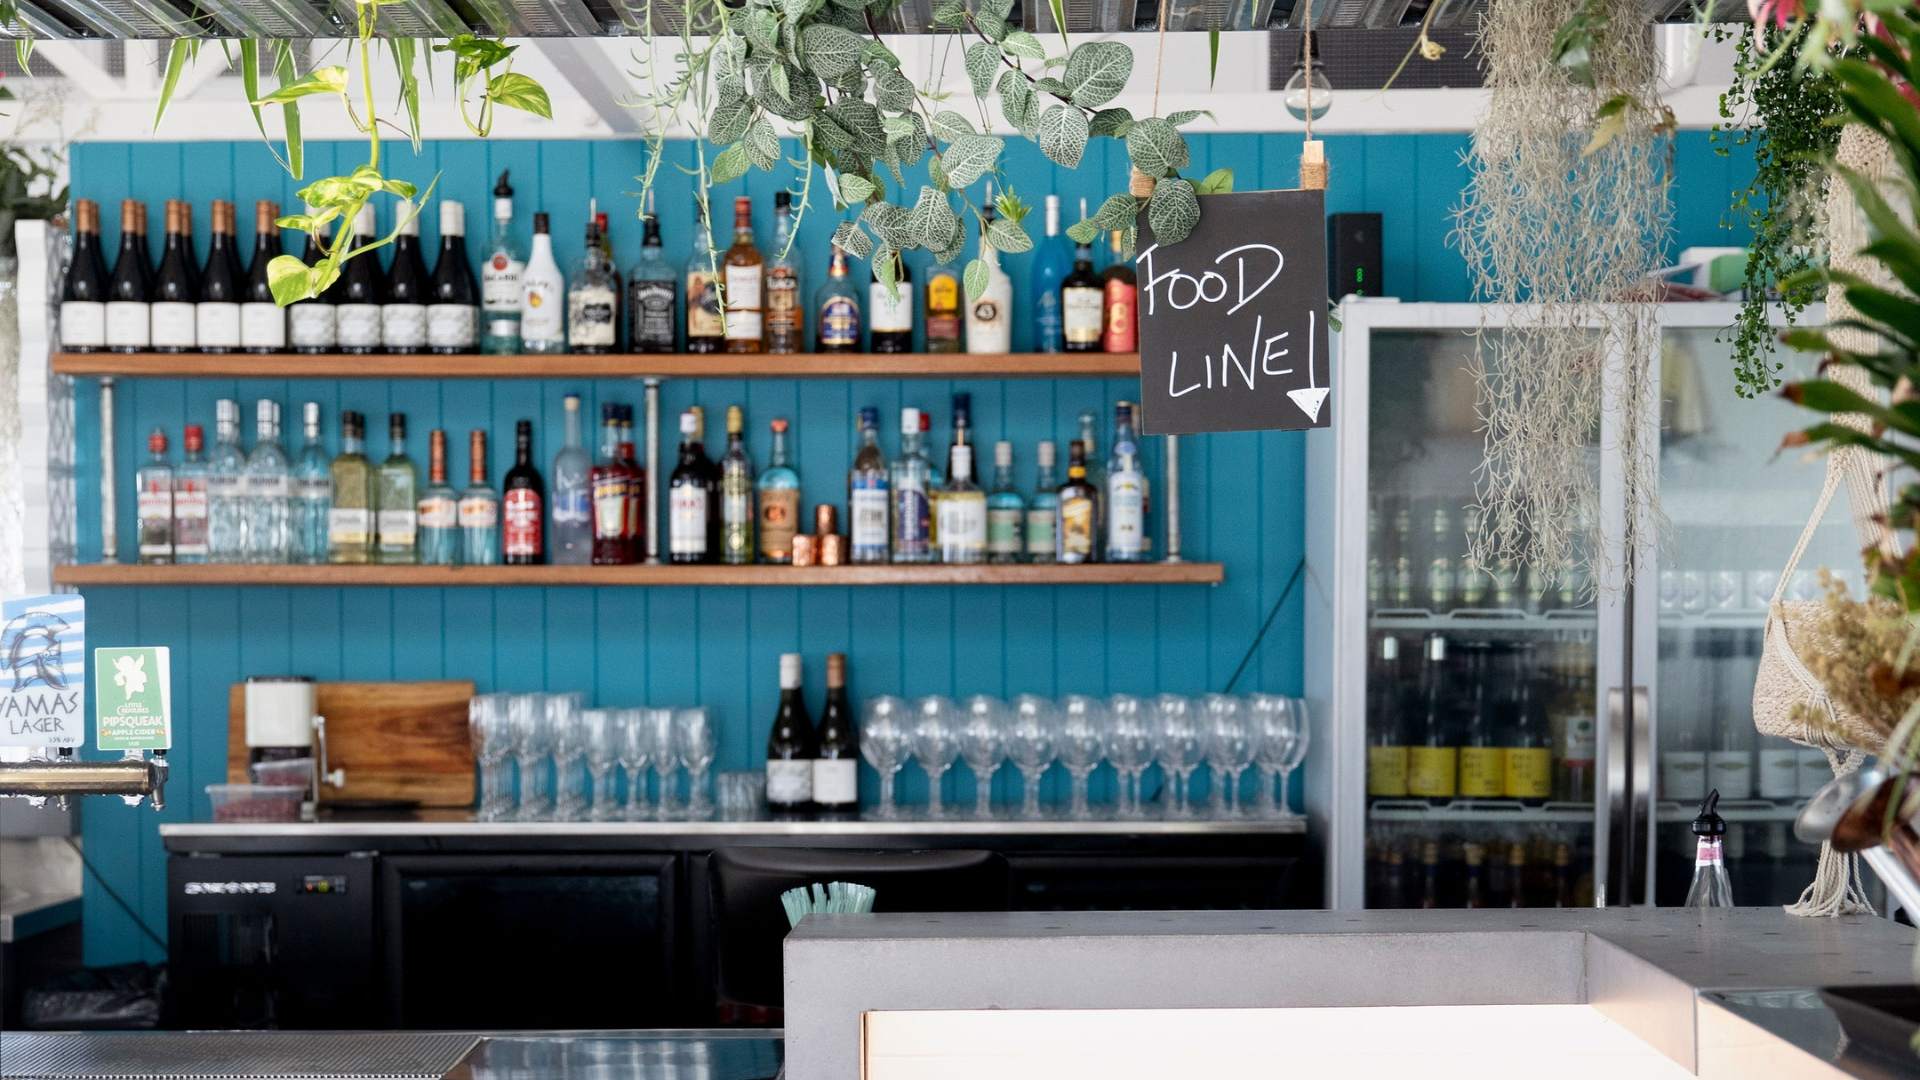
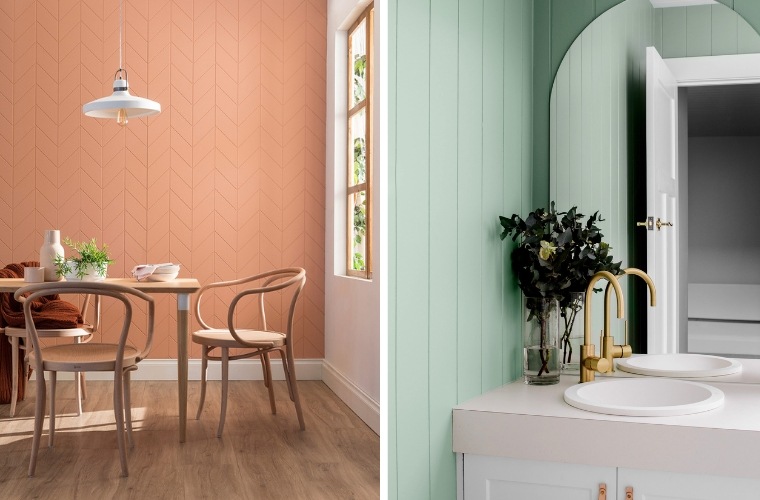
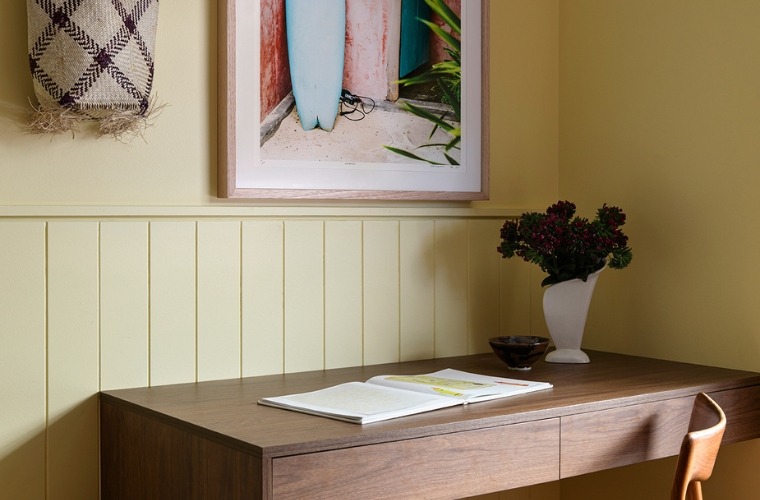
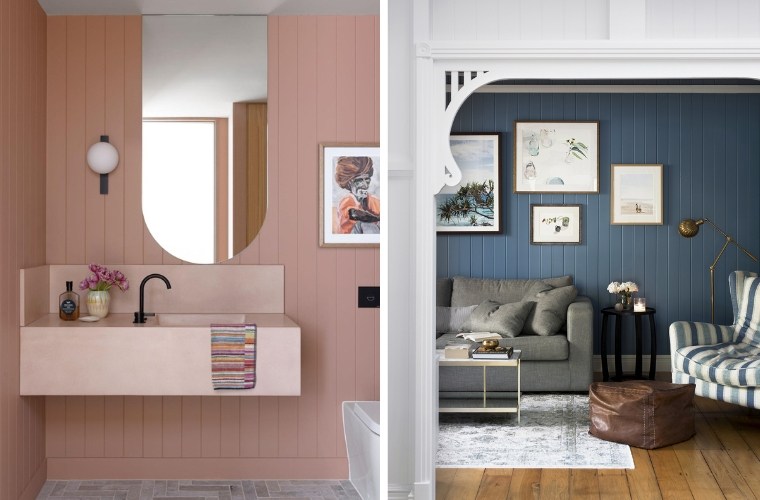
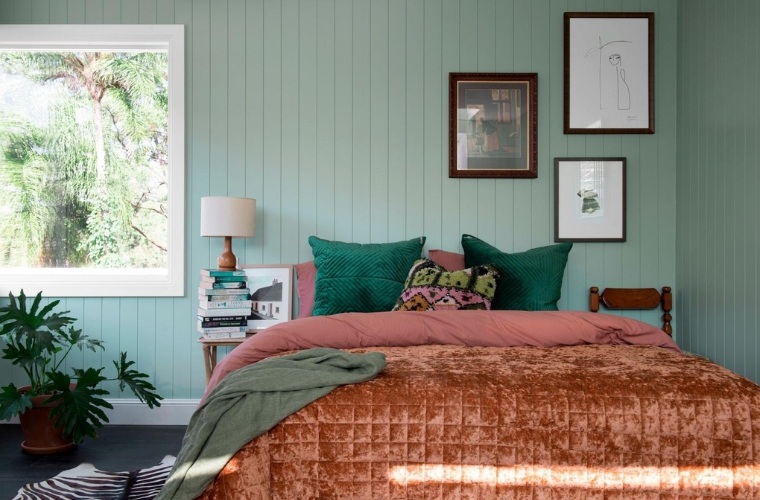
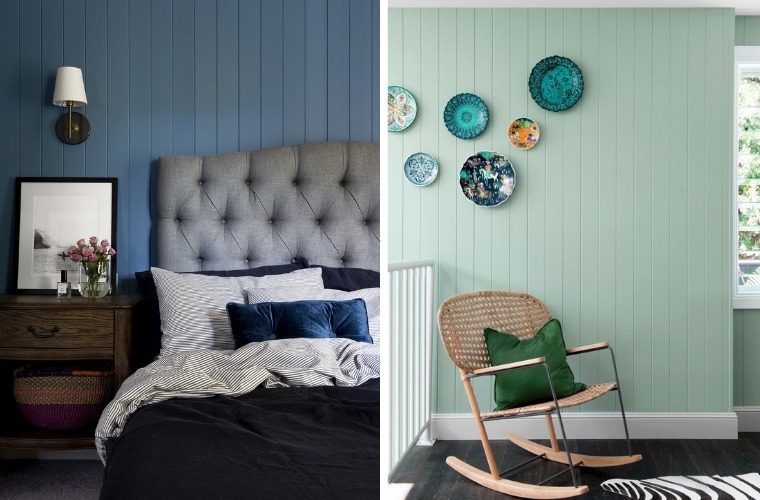
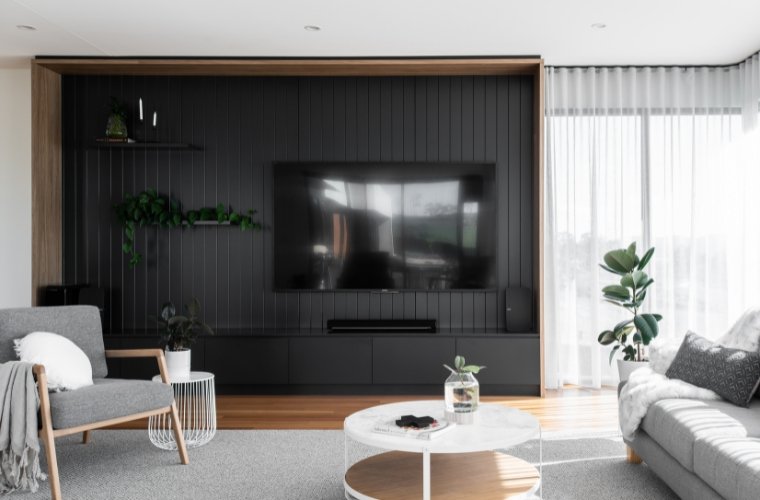
Before diving into the painting process, take a moment to think about the overall colour scheme and style of the space where you’ll be installing your easycraft panels. What sort of atmosphere do you want to create for the rooms? Understanding this will help you choose the colours that will best complement the room’s existing design features and evoke the right ambiance. Our Pinterest page can show you some stunning examples of our panels in a range of styles, colours and moods to help you.
2. Think About The Lighting
Lighting can play a critical role in how your chosen paint colours appear in a space. You’ll want to factor in both natural light and artificial lighting when settling on your colour scheme since different lighting conditions can influence how certain colours look. It’s a good idea to use paint samples in different areas of the room and watch how they change throughout the day.
3. Test Out A Few Colours
Once you have a few colour options in mind, it’s time to test them in your space! Hardware stores like Bunnings and most paint stores will have small colour swatches or sample pots that you can use to try out on your easycraft panels. You could even test them out on a panel offcut first to get an idea. Apply the samples and observe how they look in different lighting environments, as well as how they complement your room’s overall design. This will give you a better idea of how the colours will appear once they’ve been applied to the whole surface.
4. Pick The Right Paint Type
When painting your easycraft panels, make sure you choose a paint specifically designed for MDF surfaces. Look for labels that say they are suitable for wood or MDF, as these will provide better long-term adhesion and durability. Consider the paint finish as well, such as matte, satin, semi-gloss or gloss. If you’re unsure, speak to paint professionals or check the manufacturer’s recommendations.
5. Measure The Amount Of Paint You Need
There’s nothing worse than running out of paint midway through a project. So before you start painting, calculate how much paint you’ll actually need for the space. Measure the area you are planning to paint, and use an online paint calculator (or consult with in-store specialists) to determine the exact quantity required. Also bearing in mind the recommended number of coats to apply for a flawless finish.
6. Sort Out Your Tools
To achieve a professional finish, gather all the tools you’ll need for the project before you get started. This includes:
- Paint brushes (cutting-in brush and flat brush depending on your chosen panels)
- Paint roller (plus a spare if doing a bigger project)
- Paint tray
- Masking tape
- Drop sheets
- Old clothes
If unsure, you can consult with in-store specialists on what size paint brushes and paint rollers are most suitable for your specific project. Good quality masking tape can also make a huge difference.
7. Ready Your Pre-Primed Easycraft Panels
One of the advantages of easycraft panels is that they come pre-primed, which makes painting prep so much simpler. Before applying your colours, make sure the panels are clean and free from any dust or dirt. Lightly sand the surface with fine-grit sandpaper to get better paint adhesion and create a smoother finish. After sanding, wipe away any dust using a clean, lint-free cloth or small brush.
8. Set Up The Space
It’s a good idea to set up your workspace before painting. We suggest laying down drop sheets to protect your floor and any furniture in the room. Then apply masking tape along skirtings and architraves to protect them from paint splatter. Just make sure the tape is stuck down tight along the edges to guarantee a professional finish.
9.Start Painting
Now it’s time to get to work! Begin by using a brush to cut in along the edges, corners and grooves of your easycraft panels. This allows precision in areas where it may be challenging for a roller to reach. After cutting in, use a roller or brush to apply the paint evenly over the larger surface areas of the panels. Following the paint manufacturer’s instructions, allow enough time for the panels to dry between coats for a smooth finish.
10. Add The Finishing Touches
Once the paint is dry, carefully inspect your easycraft panels for any uneven areas or imperfections. If necessary, you can lightly sand those areas and touch them up with an additional coat of paint. To enhance the longevity of the paint finish, you can apply a clear protective topcoat – depending on the paint used and manufacturer – as this will protect the surface from wear and tear while giving it a polished look.
Being pre-primed and offering exceptional quality, durability and versatility, easycraft panels are an excellent choice for any DIY painting project. Start your design journey today and transform your home with our wide range of easycraft panels.
You can find more design inspiration by exploring our wide range of panels today and make sure to stay informed about our latest releases by signing up to our mailing list here.