What Is a Dado Wall & Why Should You Consider Installing a Dado Wall In Your Next Project?
A dado wall simply refers to a wall where the bottom section is different to the top section. It can be customised to suit your particular needs, especially if you want to use it for practical purposes such as a permanent bedhead. Easycraft has a range of exceptional products that are available in dado size. All of our products can be used for this purpose if cut to the correct size, but generally we find that customers love using the following products for a general-purpose dado wall installation:
- easyVJ
- easyASCOT Classic
- easyASCOT Vogue
- easyREGENCY
- Silhouette (also available in a 1200mm length – the perfect bedhead height)
All of these products are available in a 900mm height and ready to go. You can also pair them with dado mouldings, with easy dado and vogue dado coming in both flat and rebated profiles to suit your project. Do note that these dado mouldings are not compatible with Silhouette due to the thickness of the panels.
If you are looking to incorporate the dado look in a bathroom or laundry or in an undercover outdoor alfresco area, easyASCOT is also available in a wet area semi-exterior substrate at 900mm height.
A Wealth Of Design Benefits
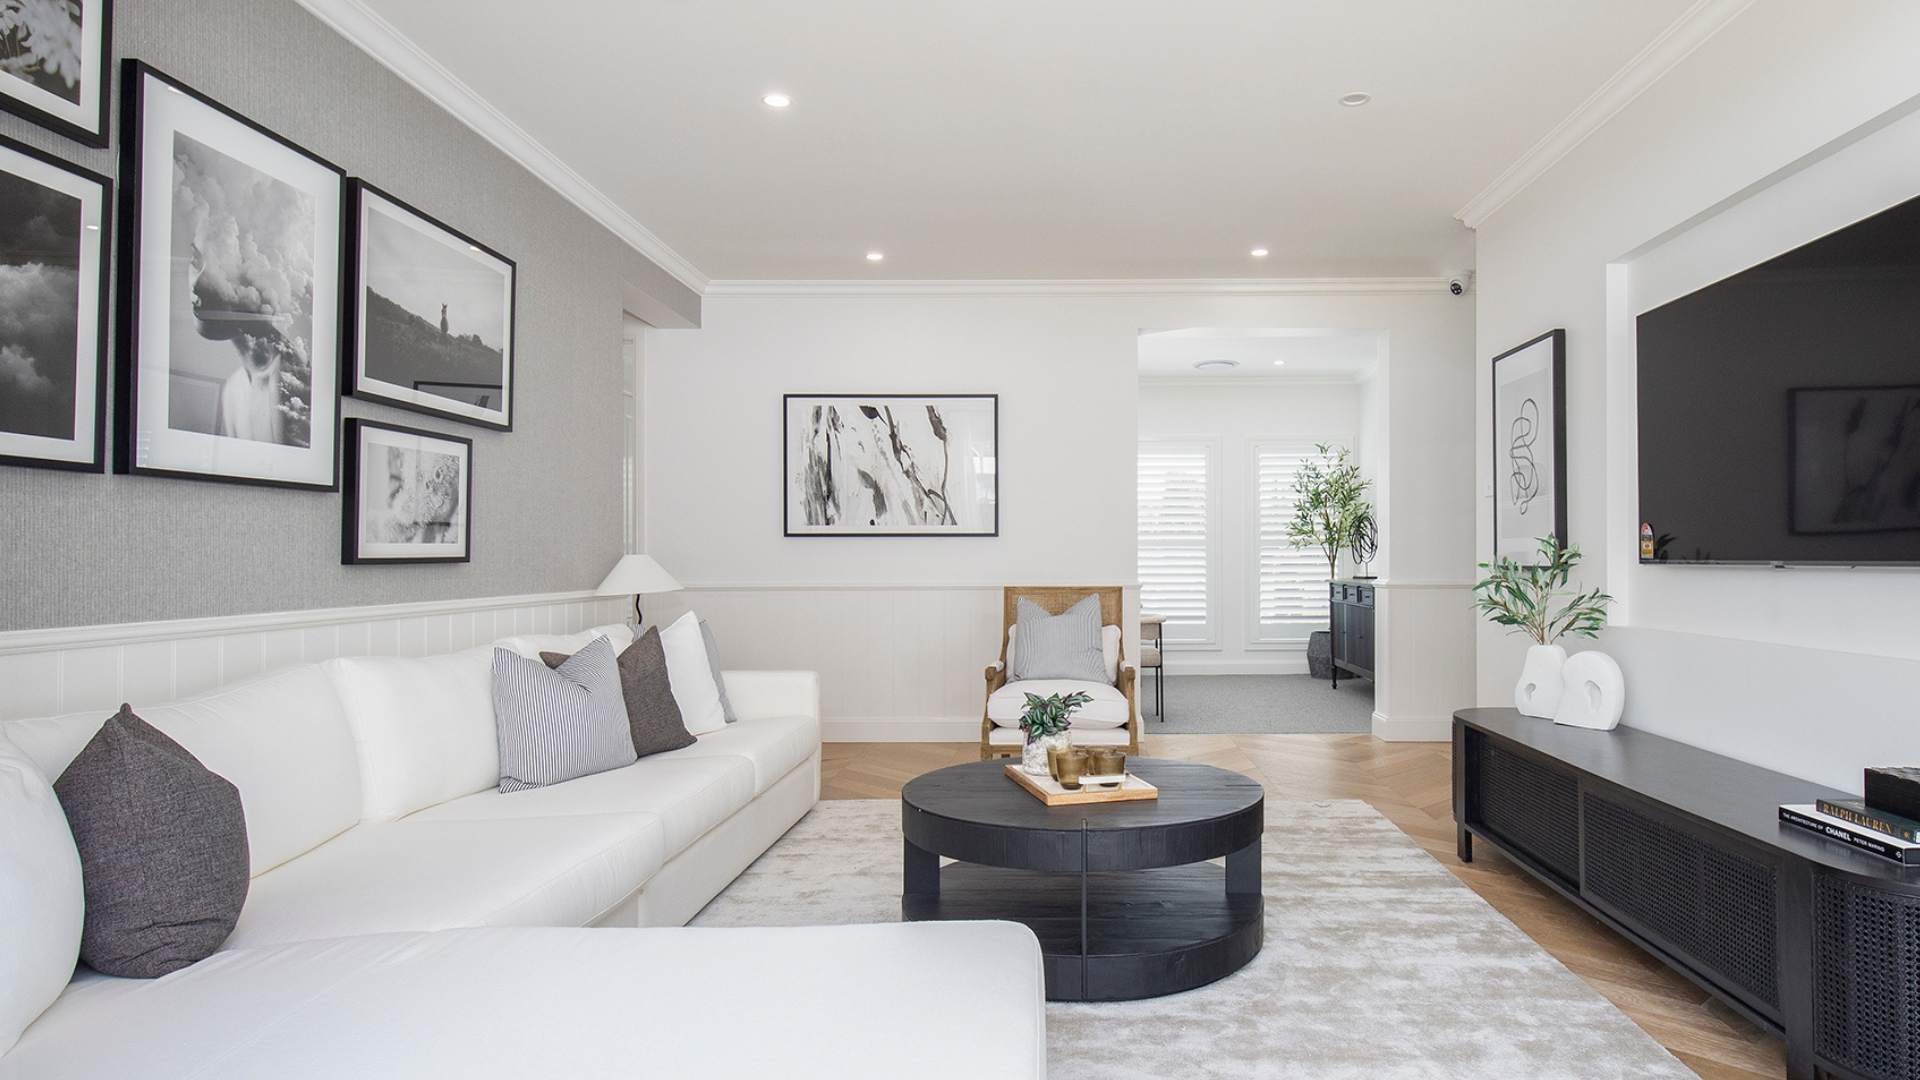
Many designers and builders go for a dado wall because of its eye-catching qualities. Something as simple as ‘splitting’ the wall in half can bring attention to a space and elevate it with a premium look. It doesn’t overcrowd a room or make it feel smaller because there is more clean space on top, but it still provides the detail and a point of interest. Above, you can hang artwork or pictures, install shelving or add other details for sleeker look.
It’s also an easy way to increase the value of property by making smart design decisions. Real Estate expert Katherine Persoglia, Managing Director at Property Before Prada, says you can boost property value with a dado wall: “The buyers who are out there right now have so many properties to choose from, so having that beautiful extra detail or that higher level of finish is absolutely going to set your property apart. That’s why we chose to use Easycraft products in our own development – particularly the easyVJ – Dado height lining boards on almost every wall throughout the home – because of the look and feel they provide.”
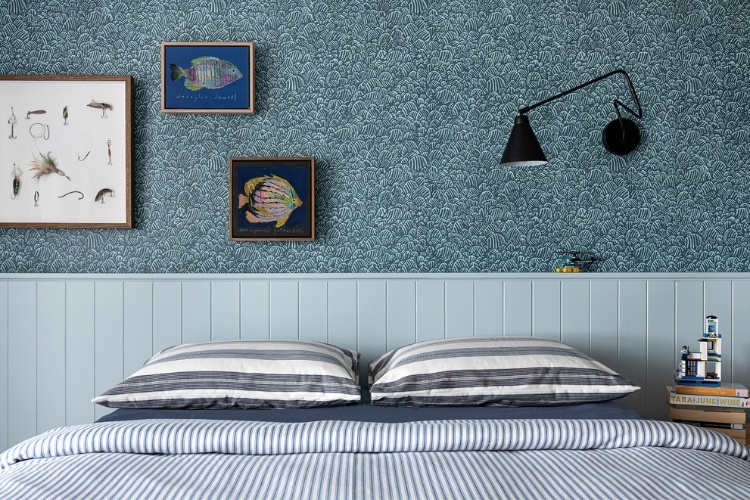
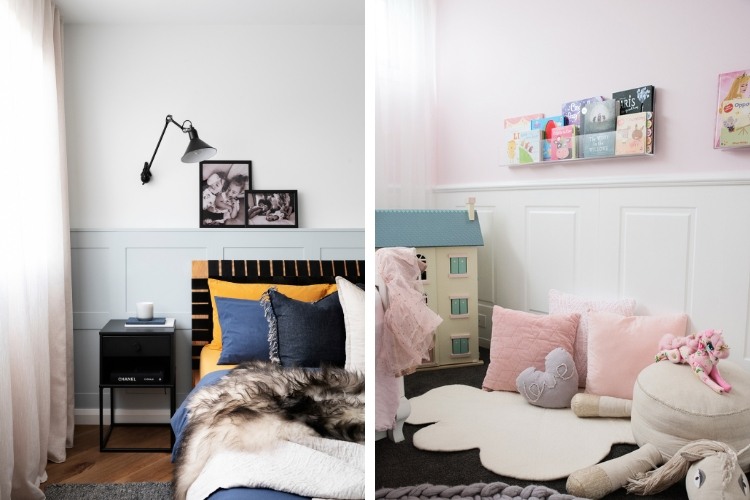
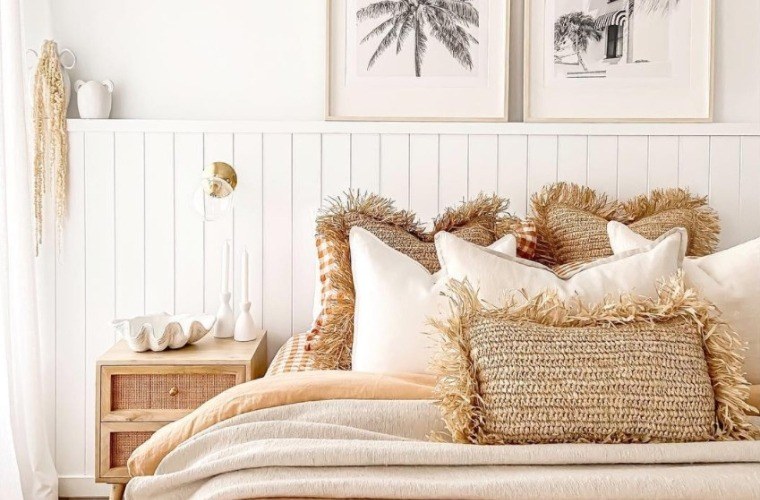
There’s also the option of installing a half-height bedhead nib wall with a ledge as a stunning bedroom feature, which can be also highly practical creating extra space for picture frames, candles or small sculptures.
How To Install A Dado Wall With easyASCOT
This step-by-step guide to installing Easycraft dado-height panels with the easyASCOT Classic profile is brought to you in partnership with Kyal and Kara, favourites from The Block and exceptional building and interior designers in their own right:
- The easyASCOT panels are 600mm wide, so to work out how many panels you need, simply measure the length of the wall (mm) and divide it by 600.
- Once you know how many panels you’ll need, it’s time to set out the wall. Start from the centre of the room and measure your way out in 600mm increments.
- Measure the width of the first starting board (e.g. 170mm from the wall’s left edge) and final board (e.g. 170mm from the wall’s right edge).
- Use the first measurement from Step 3 to cut the correct length of your first board.
- Ensure the first board is plumb. Apply glue to the back of the board and place on wall. Stay 10mm off the floor to allow for any expansion and movement in the floor.
- Fix off the boards with a finishing nail gun or small hand nails.
- Continue along the length of the wall until all boards are set and fixed in place. (Make sure to mark out any electrical points or cabling from the wall on your boards and drill out the required section before installing).
- Install skirting board and, depending on your design preference, add a dado moulding on top.
Note: The above guide is for installing the easyASCOT panels. There are installation variations depending on the product and application, so refer to the specific installation guide for more information.
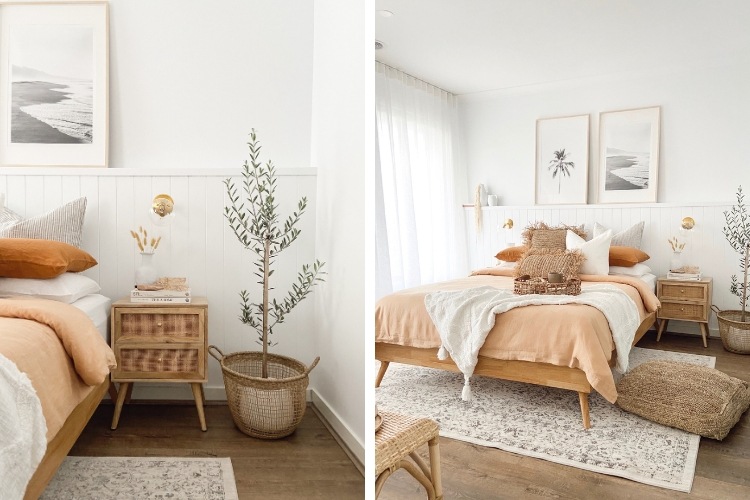
Get Inspired By These Incredible Dado Walls
Still not sure if a dado wall is the right design choice for your next project? Here are some incredible renovations that have used Easycraft panels for dado-height walls:
- Kyal and Kara – Long Jetty renovation
- Hunting for George – Bathroom reno
- Hemma Interiors – Corrimal Beach Cottage
- Lounge reno from @adrienne.andco
- Bedroom from @minnieandmeinteriors
Creating a beautiful dado half-height wall is made easy when you can find inspiration from our wide range of products. Once you’ve settled on the ideal panel for your dado wall, find out where to buy Easycraft from our list of resellers right across Australia.
You can explore our range of products or sign up to our mailing list at the bottom of the page. You can also find out where to buy Easycraft panels from our list of resellers around Australia.