DIY project is not just about transforming the room aesthetically but also ensuring it grows with your child's changing styles and tastes. With a little planning, a modest budget, and a weekend, you can turn a plain room into a space that will put a smile on your teenager's face.
Step 1: Brief and Design
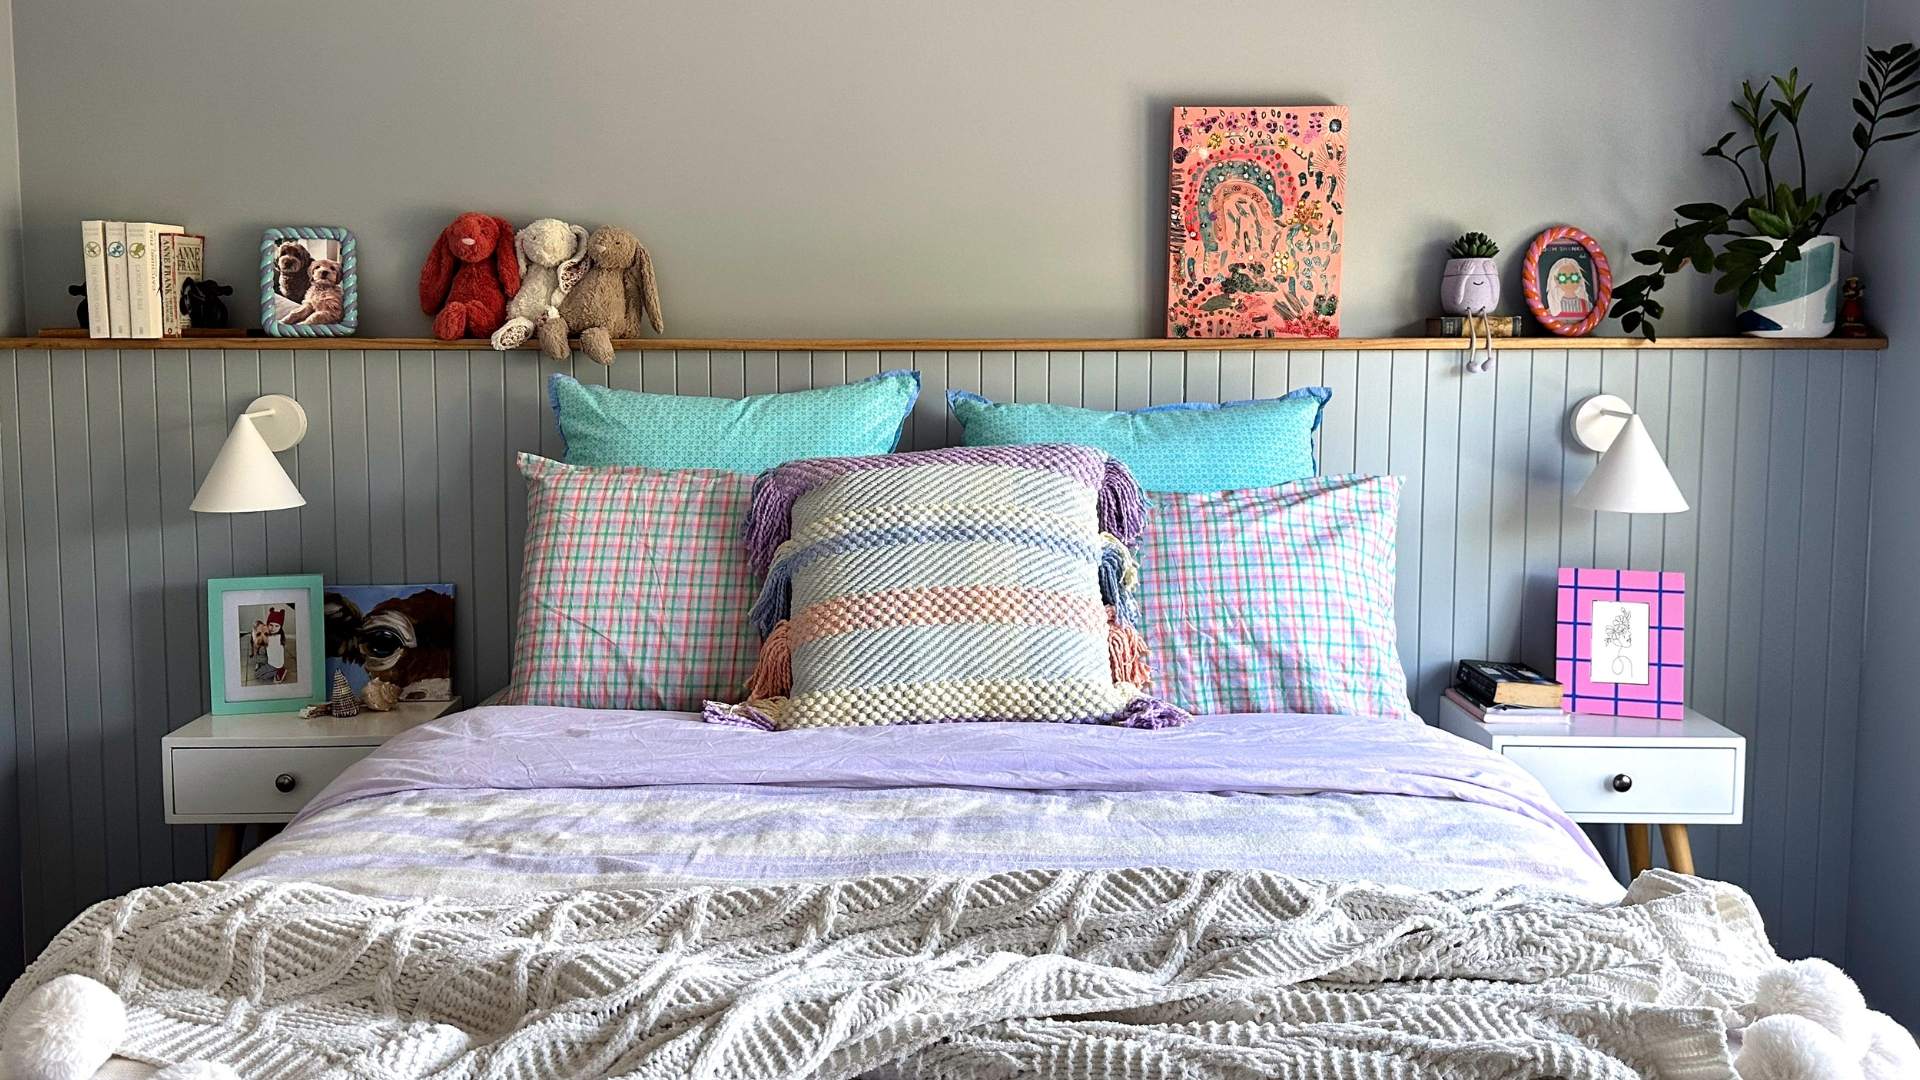
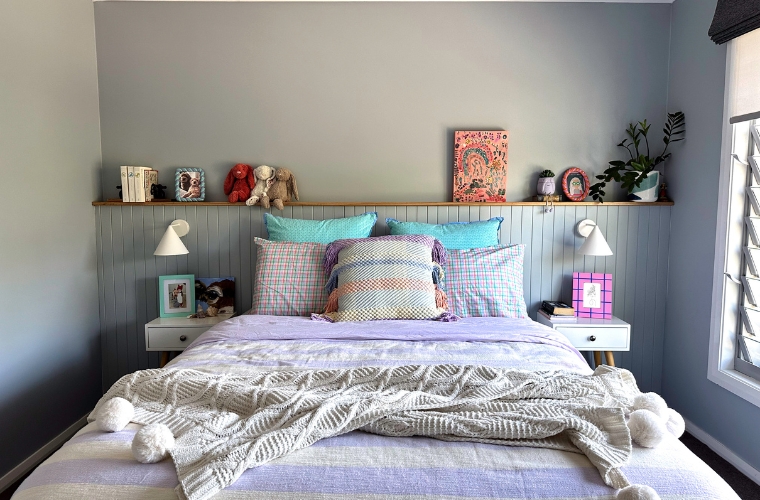
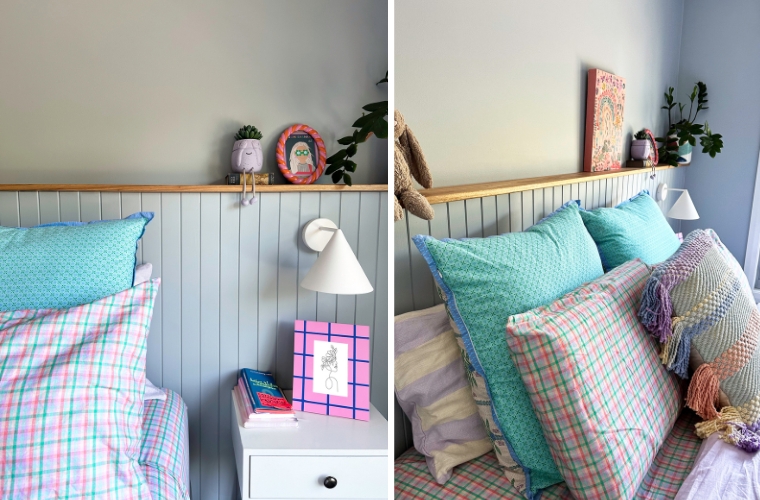
An easycraft nib wall does more than just look good; it doubles as a stylish bedhead that can adapt to your child’s changing styles. To maximise functionality, we incorporated a shelf into the design for displaying art, books, and decorative items. Before diving in, it’s a good idea to gather inspiration and plan the room's design with your child to create a space that resonates with their personality. Pinterest has a huge amount kids room inspo photos that you can use to create your mood board. We envisioned a moody and dramatic aesthetic, settling on Newport Blue by Porter's Paint to achieve the desired ambience.
Step 2: Planning and Measuring
Accurate measurements are crucial for a seamless installation. Measure the wall where you plan to install the easycraft feature nib wall to determine how many panels you require. Easycraft panels come in a variety of different profiles, so choose one that complements your teenager's style. We chose easycraft easyVJ General Purpose Panels, ordering two 2400mm x 1200mm panels for our 3300mm wall. To save on costs, we cut the panels in half to create a 1200mm high nib wall.
Additionally, work out how much framing timber you will need with studs and noggins spaced 450mm apart. In total, this was just under 15 metres of framing timber for this job. Don’t forget to plan around any power points or other obstacles, and consider the placement of wall lights, ensuring they align with the new bed and bedside tables. We chose Everest 1 lights in white from Beacon Lighting for a timeless look.
For the shelf, we opted for a solid piece of raw Blackbutt to add a striking feature to the wall while infusing it with the luxurious richness and warmth of this timber. Visit your local hardware store to order all the necessary materials.
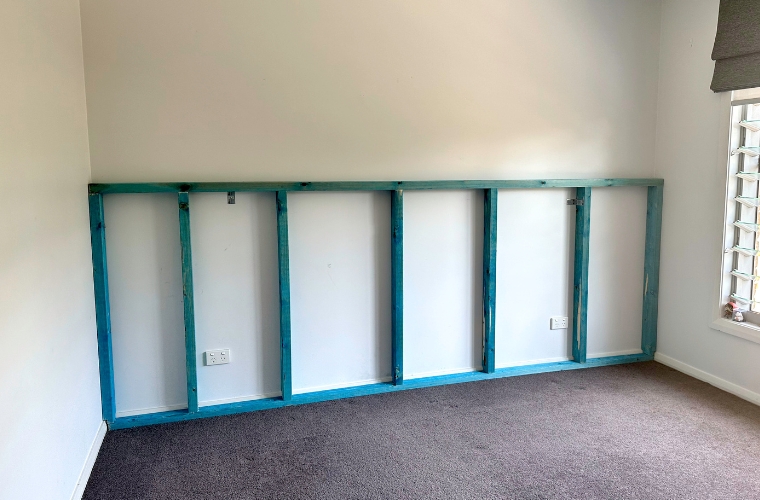
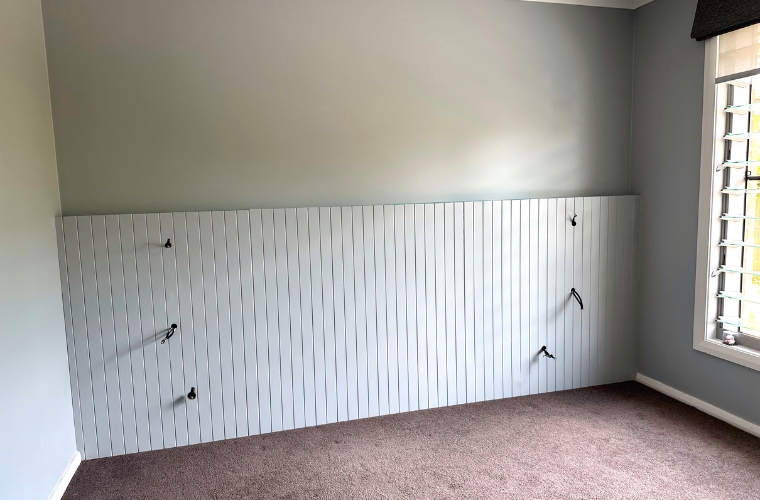
Step 3: Framing Up
Start framing up the existing plasterboard wall. This frame will serve as the foundation for attaching the easycraft panels. We hired a qualified electrician to add light switches and outlets for the new wall lights. While waiting, we painted the easycraft panels with the first coat of Newport Blue. Once the wall was framed, we painted the walls with 2 coats and let them dry overnight.
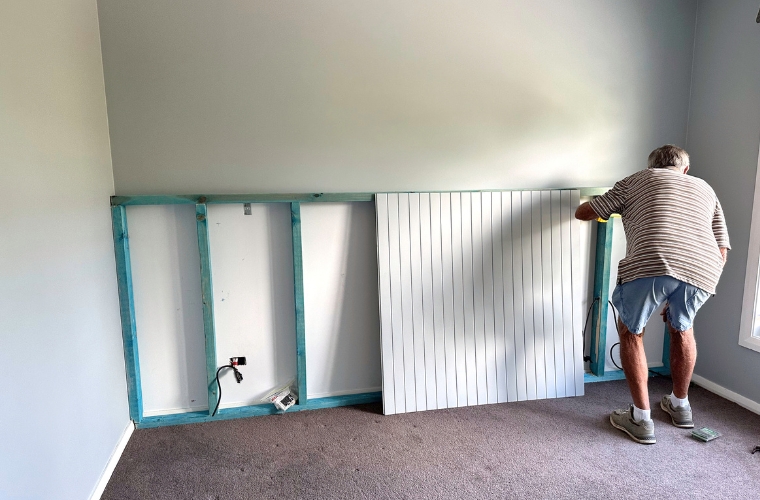
The next day with the walls dry and the first coat of paint on the easycraft panels, we worked out the place where the electrical outlets needed to poke through the panels and drilled holes wide enough to pull the cables through. Using flexible adhesive and nails the easycraft easyVJ panels went up smoothly and without a hitch.
Step 4: Prep and Paint
With the panels firmly in place, we patched up any nail holes, added no more gaps to the edges, and applied the final coat of paint. The electrician then connected the lights, and the Blackbutt timber shelf was secured using liquid nails.
Step 5: Personalise and Decorate
Now came the fun part – personalising the space! Let your teenager express their creativity by adding decor, photos, or other items that reflect their interests and style. This allows the room to grow with them over the years.
Materials and Costs
We already had some of the basics and tools like a drop saw, hammer, sandpaper, caulking gun, and nails. Electrical work was done by a family friend, reducing the overall cost.
- Easycraft Panels: 2 easyVJ Panels at $90 each $180.00
- Framing Timber: 15 meters at $5.20 per meter $78.00
- Delivery Fes: $50.00
- Liquid Nails: $5.00
- Spakfilla: $11.00
- Blackbutt Timber: $20.20 per meter x 3.5 $70.70
- Porter's Paint: 4L $142.80
- Wall Lights: Beacon Lighting Everest $130.30 each (purchased on sale) $260.60
- Total Cost: $798.10
Revamping a kid's bedroom doesn't have to break the bank or take months of labor. With a clear plan, a few supplies, and some DIY spirit, you can create a space that'll grow alongside your child's evolving style and needs. Plus, the satisfaction of a weekend project well done is simply unbeatable, as is the smile on your teenagers face!
For more inspiration visit our projects page or click here more our complete range of 'how to' videos.
Words By: Carley Eldridge