Whether you are looking for a more practical bathroom design, you want to create a stylish and eye-catching space, or you simply want to transform a dated eyesore, renovating your bathroom can be a hugely rewarding decision. When executed well, it will not only enhance a homeowner’s daily life, but it will also increase the value of their property. That is where easycraft can help.
Because of considerations like the cost, complexity and time constraints, achieving a successful bathroom renovation often comes down to the fine details. That’s why we are sharing five steps that can help you nail your bathroom renovation.
Step #1: Planning
Before getting started in earnest, it’s essential to have a clear plan of what you want to achieve with your bathroom reno. Money isn’t the only factor, so in addition to your budget, consider your lifestyle, design preferences and must-haves. One helpful tool is to have a ‘hero feature’ that your entire bathroom revolves around. This could be a statement piece like a luxurious freestanding bathtub, a functional inclusion of two rainfall showerheads, or something unique like using Wet Area Interior panels, which come in a variety of decorative profiles. Once you have this hero feature, you can design the rest of the space around it.
Step #2: Storage
Storage often falls by the wayside, but it is essential for a complete and functional space. Consider installing built-in cabinets, shelves or niches to keep your essentials organised and clutter-free. Easycraft panels are highly versatile and can work wonders when used in this capacity.
Step #3: Practicality
There’s no point creating an attractive bathroom if it’s not a practical space as well. Spend some time making notes on exactly how you want your bathroom to function. Do you or your family have any mobility needs that must be considered? Is the showerhead adjustable so it’s suitable for all heights of your family members? Are the towel racks within easy reach of the shower? Is the height and distance of your tap in proportion to your sink – in other words, do you have enough space to wash your hands, ensuring the tap isn’t too low or close to the edge of the sink?
Step #4: Find The Right Team
Once you’ve nailed the essentials, it’s time to acquire a team of experts to help you really master your bathroom reno. Even if you plan on doing a lot of the work yourself, it’s important to use professionals on bathroom projects, especially when it comes to sealing and waterproofing. Do your research and find reputable tradies who can deliver your vision on time and on budget. Getting referrals from friends and family can be a good starting point, but always read online reviews and check licences and insurance before officially hiring someone.
Step #5: Choosing Quality Materials
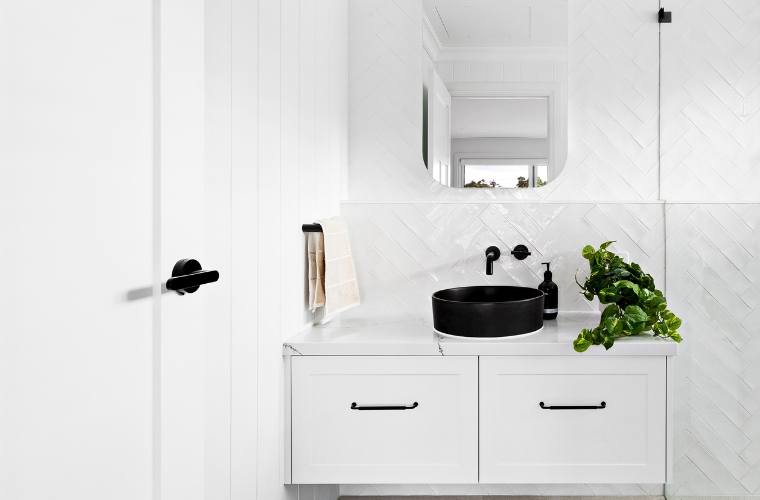
Last but certainly not least, make sure you leave enough room in your budget for high-quality materials in your bathroom. This will allow your transformed space to remain durable and long-lasting. The new and improved Wet Area Interior panels, for example, are made from ultra-high moisture-resistant MDF and come in a wide variety of exceptional decorative profiles. They are ideal for bathrooms, laundries, kitchens and other internal wet areas, and best of all they are easy to install, require minimal maintenance and come with a seven-year warranty.
Finishing Touches
We also recommend spending some time on your bathroom’s finishing touches. Lighting, fixtures and accessories can all enhance the aesthetic of your space – think complementary colours and textures for your towels, bathmats and shower curtains. Also include lighting that will elevate the mood of the space, such as dramatic pendant lights or a dimmer switch for relaxing baths.
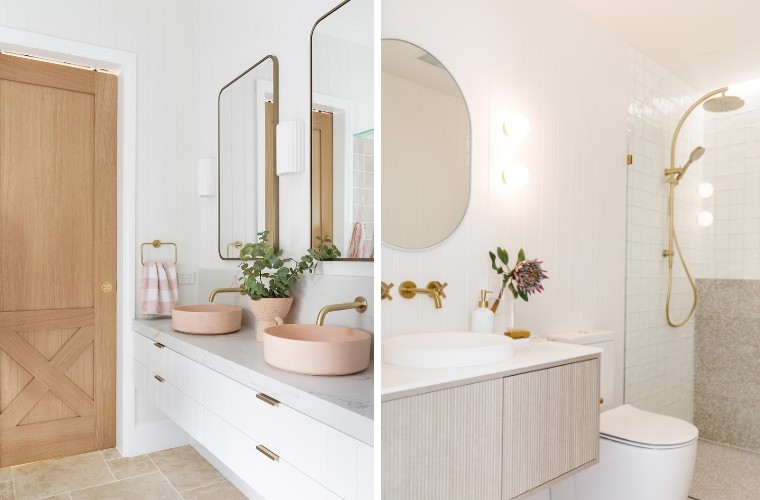
Be Inspired by Zephyr + Stone’s Bathroom Renovation
As part of their Classic Beach House renovation, Zephyr + Stone wanted to maintain design consistency by using easycraft panels in their bathroom as well. With Wet Area Interior, they were able to create a cohesive look throughout the whole home. “We used the same profile, with the Wet Area Interior,” says Kasia Clarke, co-founder of Zephyr + Stone. “They were installed on select feature walls in the bathrooms and also in the separate toilet behind the main bathroom.
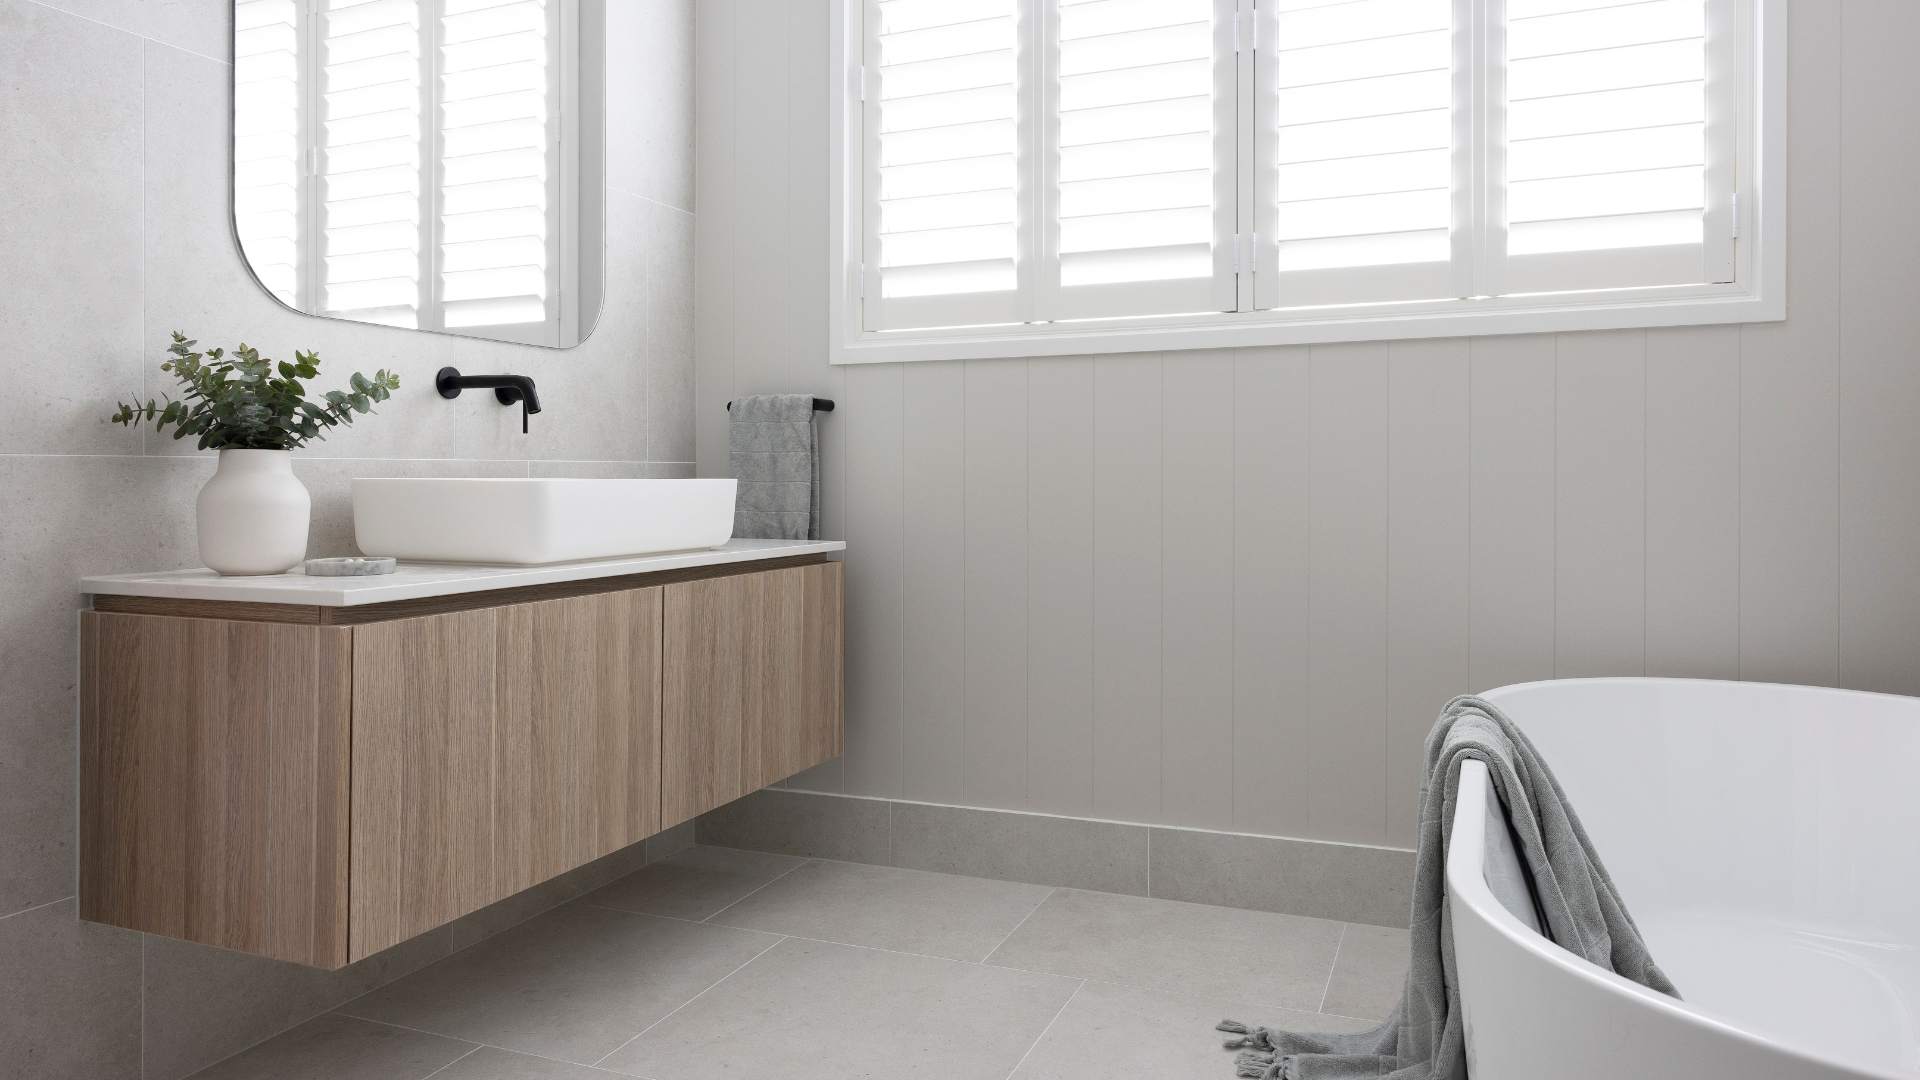
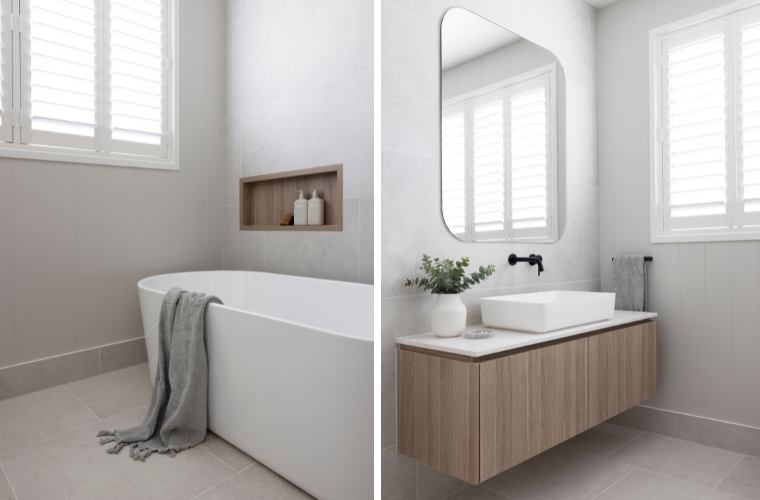
“Wherever we could and where there was no direct water penetration, that’s where we installed the beautiful panels. As the bathrooms have plantation shutters as well, together they combine to create a perfect coastal charm that ties the bathrooms together beautifully.”
Armed with this knowledge for how to nail your bathroom renovation, it’s time to start planning for the final transformation. Learn more about Wet Area Interior panels and get more inspiration by exploring our wide range of panels today.
Stay informed about our latest releases by signing up to our newsletter, or read our other news articles for inspiration and helpful guides.